> ## Documentation Index
> Fetch the complete documentation index at: https://docs.coral.inc/llms.txt
> Use this file to discover all available pages before exploring further.
# Quickstart
> Go from sign-up to your first conversation in under 5 minutes
This guide walks you through creating your Coral account, setting up your AI assistant, and sending your first message.
## Step 1: Sign in
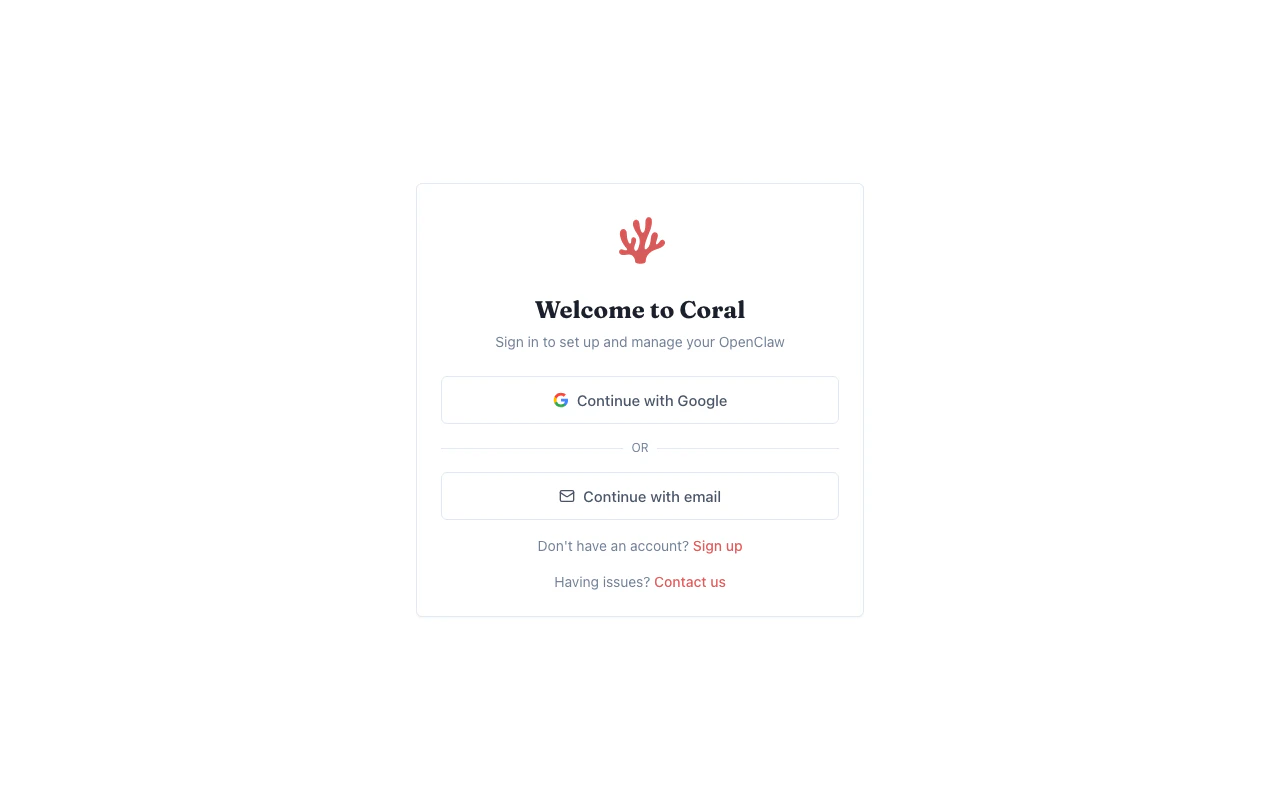
Navigate to [Coral](https://app.coral.inc) and sign in with your Google account, or create an account with email and password.
 ## Step 2: Choose a plan
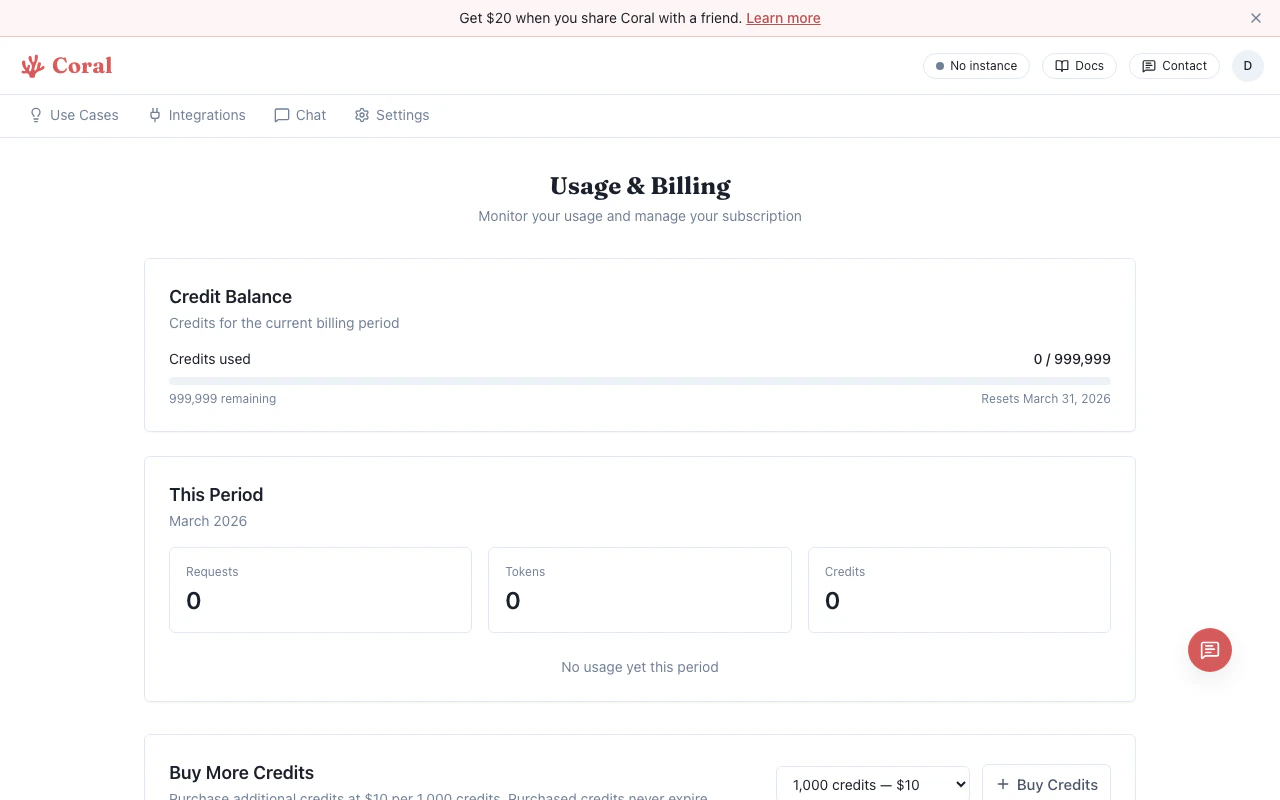
After signing in, you'll be prompted to choose a plan. Each plan includes a monthly credit allowance for AI model usage. The **Standard plan** (\$50/mo, 5,000 credits) offers a **7-day free trial** — no payment required upfront. See [Billing & Credits](/getting-started/billing) for full plan details.
## Step 2: Choose a plan
After signing in, you'll be prompted to choose a plan. Each plan includes a monthly credit allowance for AI model usage. The **Standard plan** (\$50/mo, 5,000 credits) offers a **7-day free trial** — no payment required upfront. See [Billing & Credits](/getting-started/billing) for full plan details.
 ## Step 3: Configure your assistant
The setup wizard asks two things:
1. **AI provider** — Choose **"Use our API keys"** (recommended) to get started immediately, or **"Bring your own key"** if you have your own API key or ChatGPT/Codex subscription. See [Bring Your Own Key](/features/bring-your-own-key) for supported providers.
2. **Agent name** — Give your assistant a name (defaults to "Coral").
Using our API keys means you don't need to create accounts with AI providers or manage billing with them separately. Usage is tracked against your Coral plan credits.
## Step 3: Configure your assistant
The setup wizard asks two things:
1. **AI provider** — Choose **"Use our API keys"** (recommended) to get started immediately, or **"Bring your own key"** if you have your own API key or ChatGPT/Codex subscription. See [Bring Your Own Key](/features/bring-your-own-key) for supported providers.
2. **Agent name** — Give your assistant a name (defaults to "Coral").
Using our API keys means you don't need to create accounts with AI providers or manage billing with them separately. Usage is tracked against your Coral plan credits.
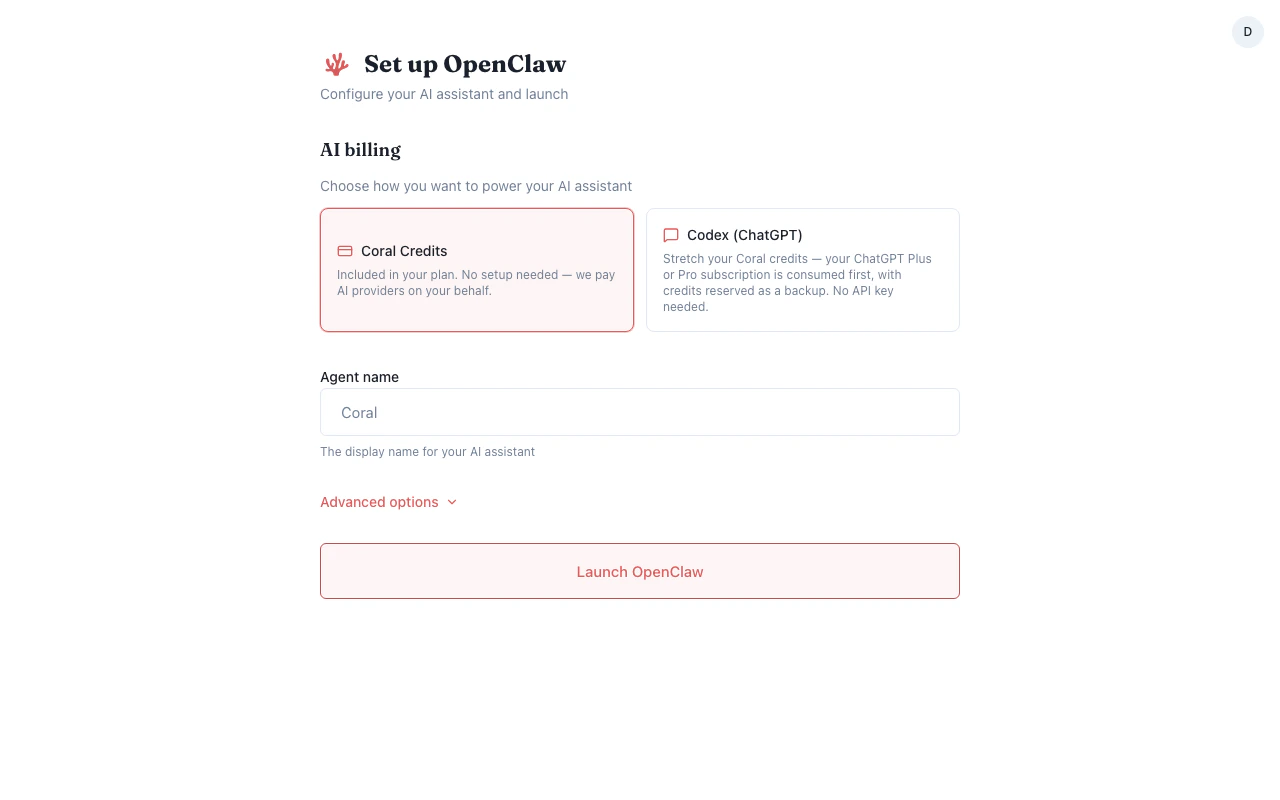 Click **Launch OpenClaw** to provision your sandbox. This typically takes 30-60 seconds.
## Step 4: Start chatting
Once your sandbox is ready, you'll land on the chat page. Your assistant defaults to the **Standard** model tier (Claude Sonnet 4.6) — you can [change this](/features/models) anytime in Settings. Type a message to start a conversation.
Click **Launch OpenClaw** to provision your sandbox. This typically takes 30-60 seconds.
## Step 4: Start chatting
Once your sandbox is ready, you'll land on the chat page. Your assistant defaults to the **Standard** model tier (Claude Sonnet 4.6) — you can [change this](/features/models) anytime in Settings. Type a message to start a conversation.
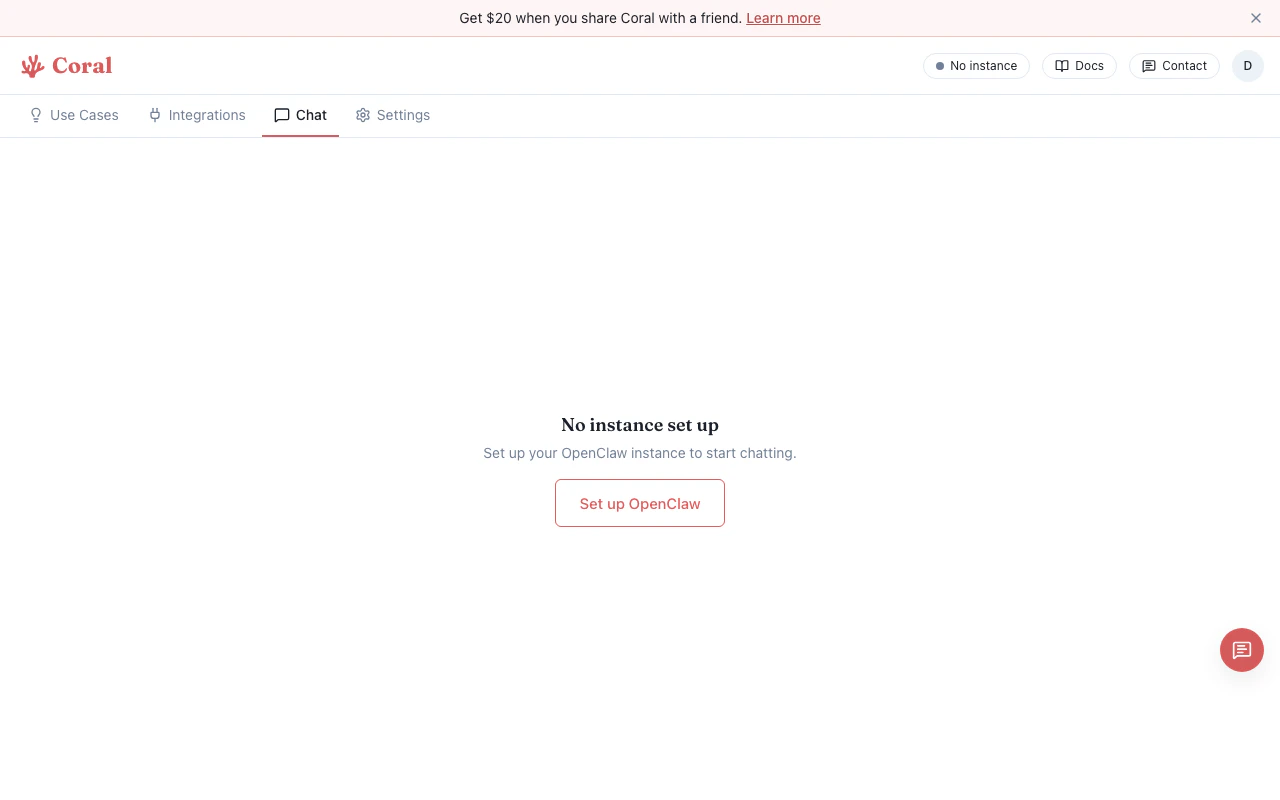 The chat page shows suggested prompts to help you explore what your assistant can do. You can also:
* **Attach files** — Drag and drop or click the attachment button to share images and documents.
* **Browse use cases** — Visit the **Use Cases** tab to discover pre-built prompts for common tasks.
## What's next
Extend your assistant with web search, Notion, and more.
Switch between Light, Standard, and Pro model tiers.
Connect your assistant to Discord, WhatsApp, or Slack.
Manage your plan and track credit usage.
Try pre-built workflow templates.
Access the full OpenClaw dashboard for advanced configuration.
The chat page shows suggested prompts to help you explore what your assistant can do. You can also:
* **Attach files** — Drag and drop or click the attachment button to share images and documents.
* **Browse use cases** — Visit the **Use Cases** tab to discover pre-built prompts for common tasks.
## What's next
Extend your assistant with web search, Notion, and more.
Switch between Light, Standard, and Pro model tiers.
Connect your assistant to Discord, WhatsApp, or Slack.
Manage your plan and track credit usage.
Try pre-built workflow templates.
Access the full OpenClaw dashboard for advanced configuration.